Learning Shapes at Preschool
Why do preschool children need to learn shapes?

You may not think about this often, but shapes form a fundamental part of our lives, as the basis for a lot of what we understand about the world.
Shapes are essential elements of art, architecture, engineering, physics, chemistry, programming, even sports. Without a deep understanding of shapes and how we can harness them in both the physical and digital worlds, the world would look a lot different to how it does today!
This is why we teach shapes to children as early as possible; by grasping the basic shapes, they are then able to confidently move up to studying more and more complex shapes, which in turn develop into understanding essential math concepts.
And it all starts with a square, a circle and a triangle.
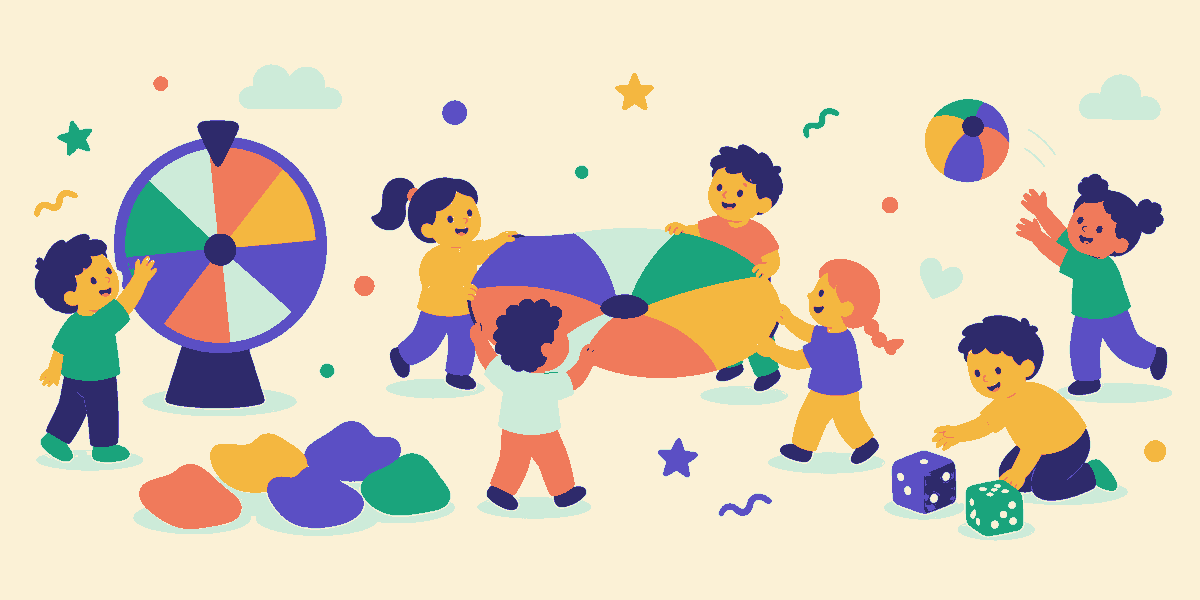
Introducing children to shapes at a young age is crucial to supporting their development in many areas throughout their lives. The way we introduce shapes is extremely important; reinforcing this knowledge in a way that is both memorable and enjoyable is, in my experience, the ideal combination.
In this guide, I will explain in detail my methods for teaching shapes using games and activities, refined over 35 years with input from many other experienced and impressive educators. This is the guide I wish I had when I started teaching. I trust you will find it indispensable in your educational endeavours.
The Shapes:
As you know, shapes range from the basic (circle, square and triangle) up to the more complex (such as the hexagon and crescent). In this guide, we will cover the three fundamental shapes that preschool children need to know. It makes sense to introduce shapes progressively to the children, bringing in new ones only after they are comfortable in their knowledge of the shapes that have come before. I always like to start with the Circle.LEARNING CIRCLES:
Here are some ideas of activities to reinforce the concept of a ‘circle’:- With your children, make a collection of circle-shaped objects around the room (for example, plates, bangles, blocks, play dough lids – anything the children can see) and then place them all in the center of a hula hoop on the ground.
- Trace around circle shapes to create a template, which the children can then cut out and paint with a color they like as part of a craft activity.
- Place hoops outside on the ground and play a game where the children need to stand inside a circle whenever you clap your hands.
- Play singing games where the children walk around in a circle, like ‘Ring a Ring a Rosy’. These are always a favorite for the children!
- Have the children stand in a circle and pass a ball around the circle from hand to hand, to trace the outline of the circle.
- Give the children a variety of shapes to feel and discuss the differences between the shapes, using descriptive words, like ‘smooth’ or ‘round’ or ‘pointy’. After they have had a chance to feel each shape, place the shapes in a bag and have each child try and find the circle by touch alone.
- Create a large circle outside with chalk or tape. Have the children stand around the large circle and follow your directions, similar to a game of ‘Simon Says’. Example commands are: “jump into the circle”, “hop out of the circle”, “crawl into the circle”, “girls jump into the circle”, “hop into the circle if you’re wearing blue”, etc.
- Make some circular stepping stones and form a path across the playground for the children to follow (“only step on the circles!”).
- Cut circles out of paper and paste them onto a larger piece of paper to make a pattern.
- Apply a take on the traditional ‘vegetable painting’ by using an orange to make circle shapes – the segments in the orange make for a very intricate pattern and the orange, of course, makes a very good circle!
- Place a selection of cut out paper squares, triangles and circles on the floor. Play some music and when the music stops, the children have to stand on a circle. This one always leads to some mad scrambling!
- Have a ‘circle lunch’ – a meal where you serve round food on round plates, with round place mats and round place cards. The children can come dressed in round hats, too!
- Ask the children to paste pictures or draw in a round book.
- Lead the children in a ‘circle hunt’ in the playground, looking for objects, such as tires and hoops, that are shaped like a circle.
- Draw a large butterfly for the children and allow them to decorate it by pasting circles of different sizes and colors onto it. This can be a great cross-over activity to learn about insects.
- This is a simple one – have lunch, morning tea and afternoon tea while sitting in a circle.
- Cut out circle shaped frames from paper or cardboard, to allow the children to draw their faces and stick them inside the circle frame.
- Ask the children to make a circle shaped ‘window’ with their hands that they can look through.
- Read the ‘Mr Happy’ book from the Mr Men Series; talk about his circle-shaped body with the children.
- Supply a collection of round buttons, all of different sizes and talk about the differences with the children. This is a great way to explain that circles can be very different in their appearance, but still remain the same shape.
- Help the children make circle-shaped cookies. Cooking experiences are always tremendous fun for the children.
- Draw circles in the sand pit with the children and talk about going ‘round and round’.
LEARNING TRIANGLES:
- As with the circles, a classic activity is to trace around triangle shapes and cut them out for the children to paint.
- Have a tree with the children’s names written on triangles hanging from it. This could either be a real tree (in which case, I’d recommend laminating the triangles first), a Christmas tree inside or a mock-up tree on the wall.
- Give the children a variety of shapes to feel and discuss the differences between the shapes, using descriptive words, like ‘smooth’ or ‘round’ or ‘pointy’. After they have had a chance to feel each shape, place the shapes in a bag and have each child try and find the triangle by touch alone.
- Create a large triangle outside with chalk or tape. Have the children stand around the large triangle and follow your directions, similar to a game of ‘Simon Says’. Example commands are: “jump into the triangle”, “hop out of the triangle”, “crawl into the triangle”, “girls jump into the triangle”, “hop into the triangle if you’re wearing blue”, etc.
- Cut triangles out of paper and paste them onto a larger sheet of paper to make a pattern.
- Cut a triangle shape out of a vegetable (e.g. a potato or a carrot) and use it as a stamp to make the triangle shape in painting.
- Draw triangles of different types on paper and have the children match the shapes with 3 Popsicle sticks.
- Place a selection of cut out paper squares, triangles and circles on the floor. Play some music and when the music stops, the children have to stand on a triangle.
- Have a ‘triangle lunch’ – a meal where you serve triangle food (sandwiches, corn chips, watermelon slices), with triangle place mats and triangle place cards with triangle napkins. The children can come dressed in triangle hats, too!
- Ask the children to paste pictures or draw in a triangle book.
- Have lunch, morning tea and afternoon tea sitting in a triangle.
- Ask the children to make a triangle-shaped ‘window’ with their hands that they can look through.
- Cut out triangle shaped frames from paper or cardboard, to allow the children to draw their faces and stick them inside the triangle frame.
- Read the ‘Mr Rush’ book from the Mr Men Series; talk about his triangle-shaped body with the children.
- Draw triangles in the sandpit with the children.
LEARNING SQUARES:
- With your children, make a collection of square-shaped objects around the room (for example, paper sheets, napkins, post-it notes – anything the children can see) and then place them all in the center of a large square mat (or make a square our of sticky tape if you don’t have a square mat) on the ground.
- Trace around square shapes to create a template, which the children can then cut out and paint with a color they like as part of a craft activity.
- Give the children a variety of shapes to feel and discuss the differences between the shapes, using descriptive words, like ‘smooth’ or ‘round’ or ‘pointy’. After they have had a chance to feel each shape, place the shapes in a bag and have each child try and find the square by touch alone.
- Create a large square outside with chalk or tape. Have the children stand around the large square and follow your directions, similar to a game of ‘Simon Says’. Example commands are: “jump into the square”, “hop out of the square”, “crawl into the square”, “girls jump into the square”, “hop into the square if you’re wearing blue”, etc.
- Draw squares outside on the ground and play a game where the children need to stand inside a square whenever you clap your hands.
- Cut squares out of paper and paste them onto a larger sheet of paper to make a pattern.
- Look at pictures together and ask the children to find square-shaped objects within the pictures.
- Make some square-shaped stepping stones and form a path across the playground for the children to follow (“only step on the squares!”).
- Cut a squares shape out of a vegetable (e.g. a potato or a carrot) and use it as a stamp to make the squares shape in painting.
- Draw squares of different types on paper and have the children match the shapes with 4 Popsicle sticks.
- Place a selection of cut out paper squares, triangles and circles on the floor. Play some music and when the music stops, the children have to stand on a square.
- Have a ‘square lunch’ – a meal where you serve square food (sandwiches, brownies, smores), with square place mats and square place cards with square napkins. The children can come dressed in square hats, too!
- Ask the children to paste pictures or draw in a square book.
- Have lunch, morning tea and afternoon tea sitting in a square.
- Ask the children to make a square -shaped ‘window’ with their hands that they can look through.
- Send the children on a hunt for square-shaped objects inside and outside the classroom.
- Complete square-shaped puzzles.
- Square dancing is always fun, too!
Get 50 preschool games, free
Pop in your email and we’ll send the printable pack.
Free games pack and occasional teaching ideas. Unsubscribe any time. See our privacy policy.